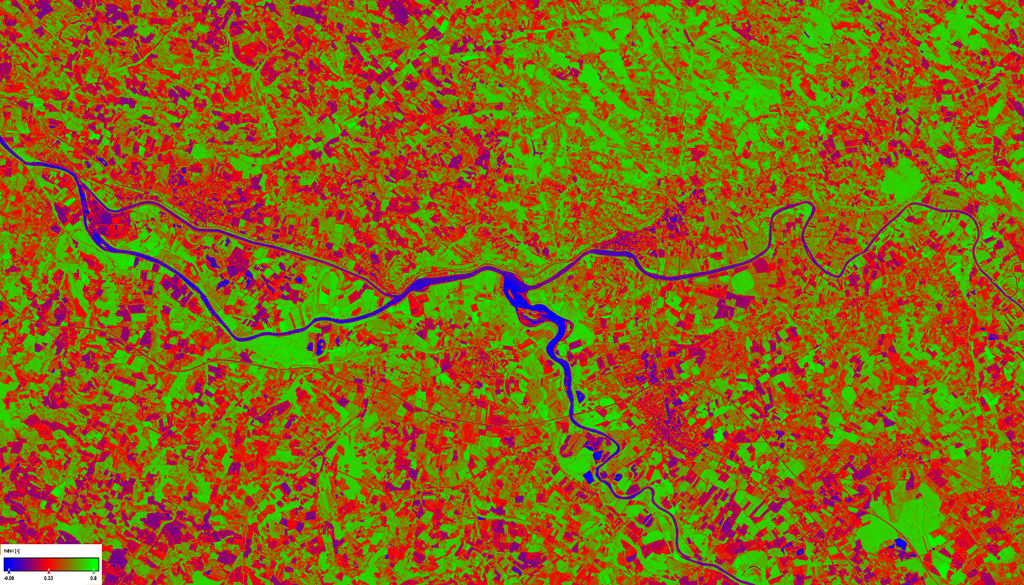
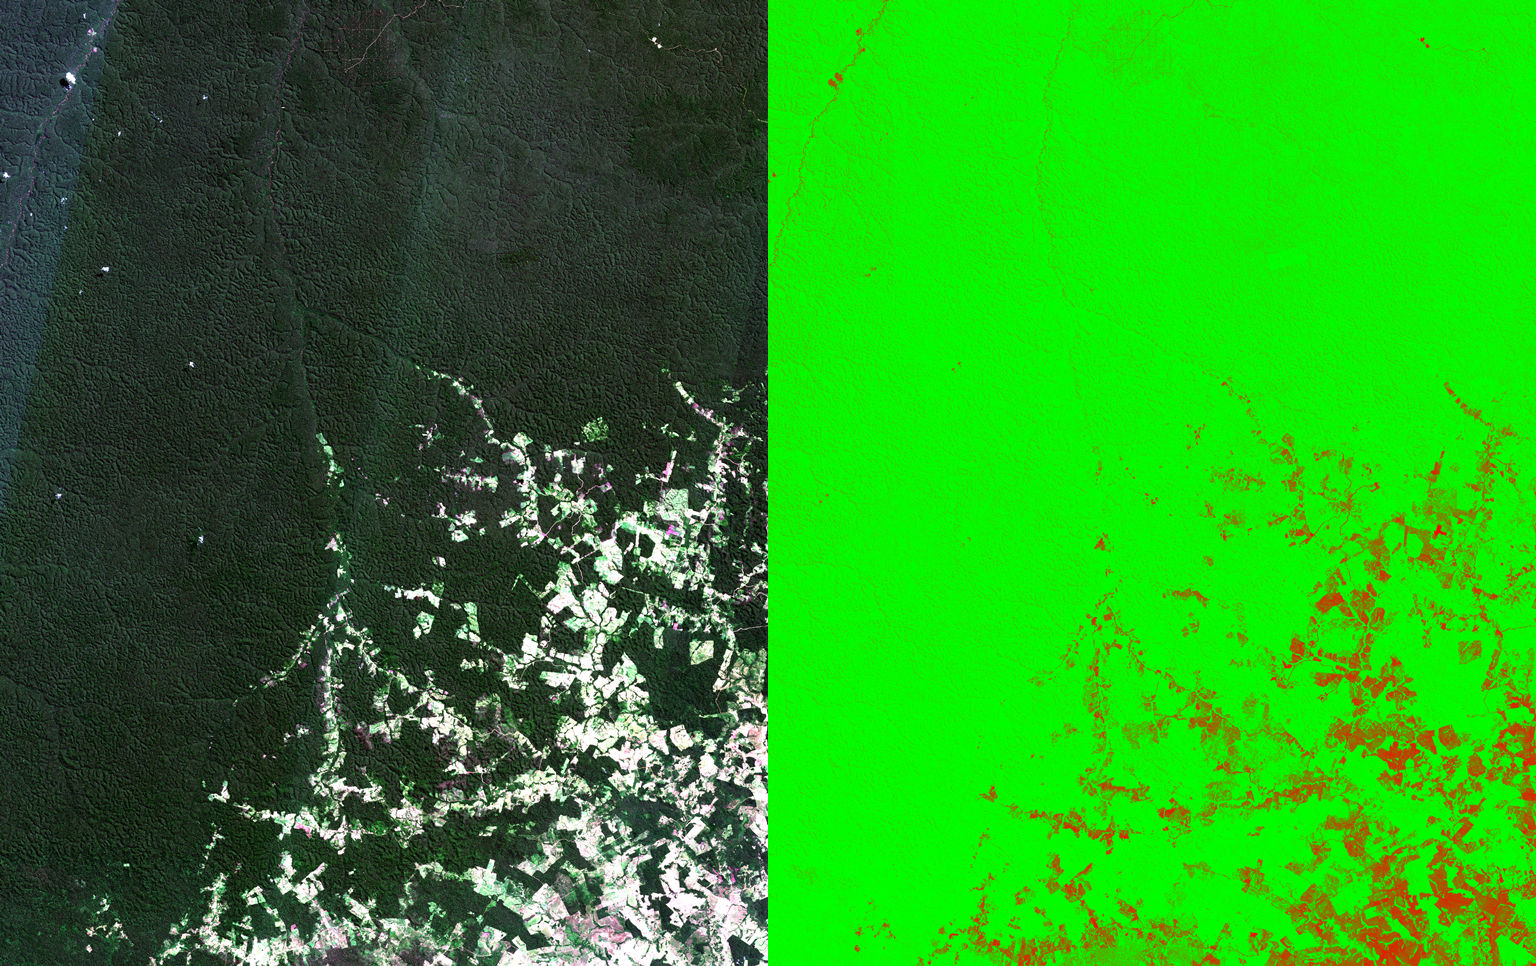
Sentinel-2 Normalized Difference Vegetation Index (NDVI) included in the Radiometric Indices Processor of the ESA SNAP Toolbox
ESA is developing free open source toolboxes for the scientific exploitation of Earth Observation missions under the the Scientific Exploitation of Operational Missions (SEOM) programme element. STEP is the ESA community platform for accessing the software and its documentation, communicating with the developers, dialoguing within the science community, promoting results and achievements as well as providing tutorials and material for training scientists using the Toolboxes.
The ESA toolboxes support the scientific exploitation for the Sentinels 1/2/3 missions, ERS-ENVISAT missions, and a range of National and Third Party missions. The two toolboxes are called respectively “Optical Toolbox” and “Microwave Toolbox” and share a common architecture called SNAP. The toolboxes contain IO/support for the sensors mentioned as well as generic and sensor specific processing operators. They also contain some functionalities of historical toolboxes such as BEAM, NEST and Orfeo Toolbox that were developed over the last years.


